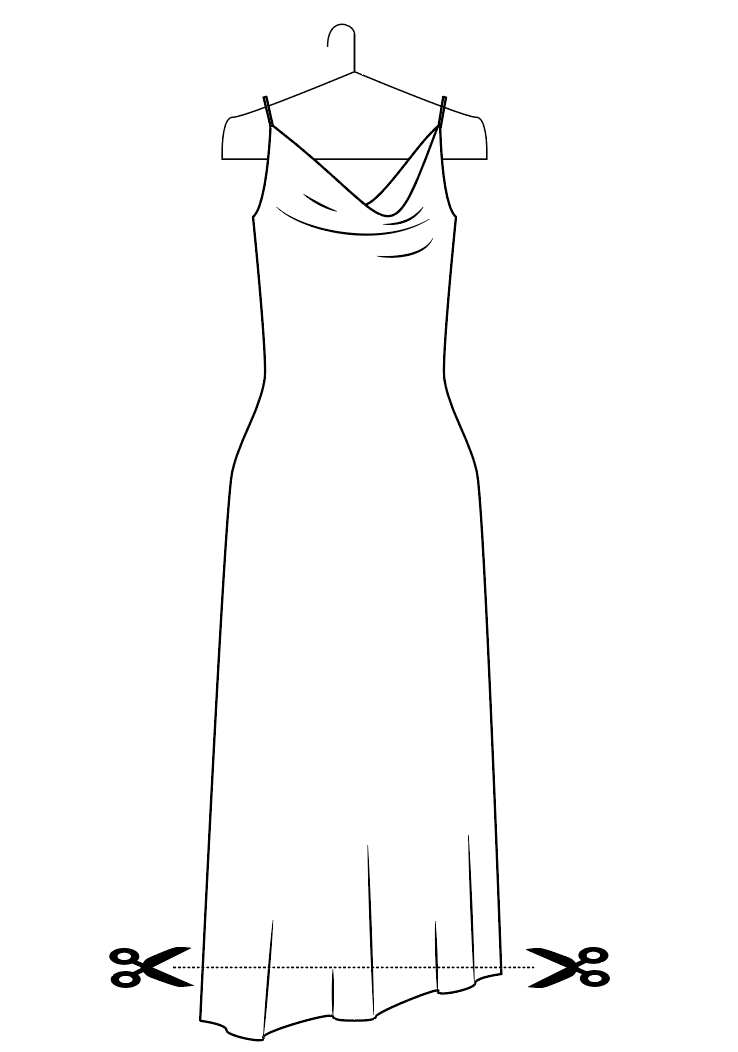
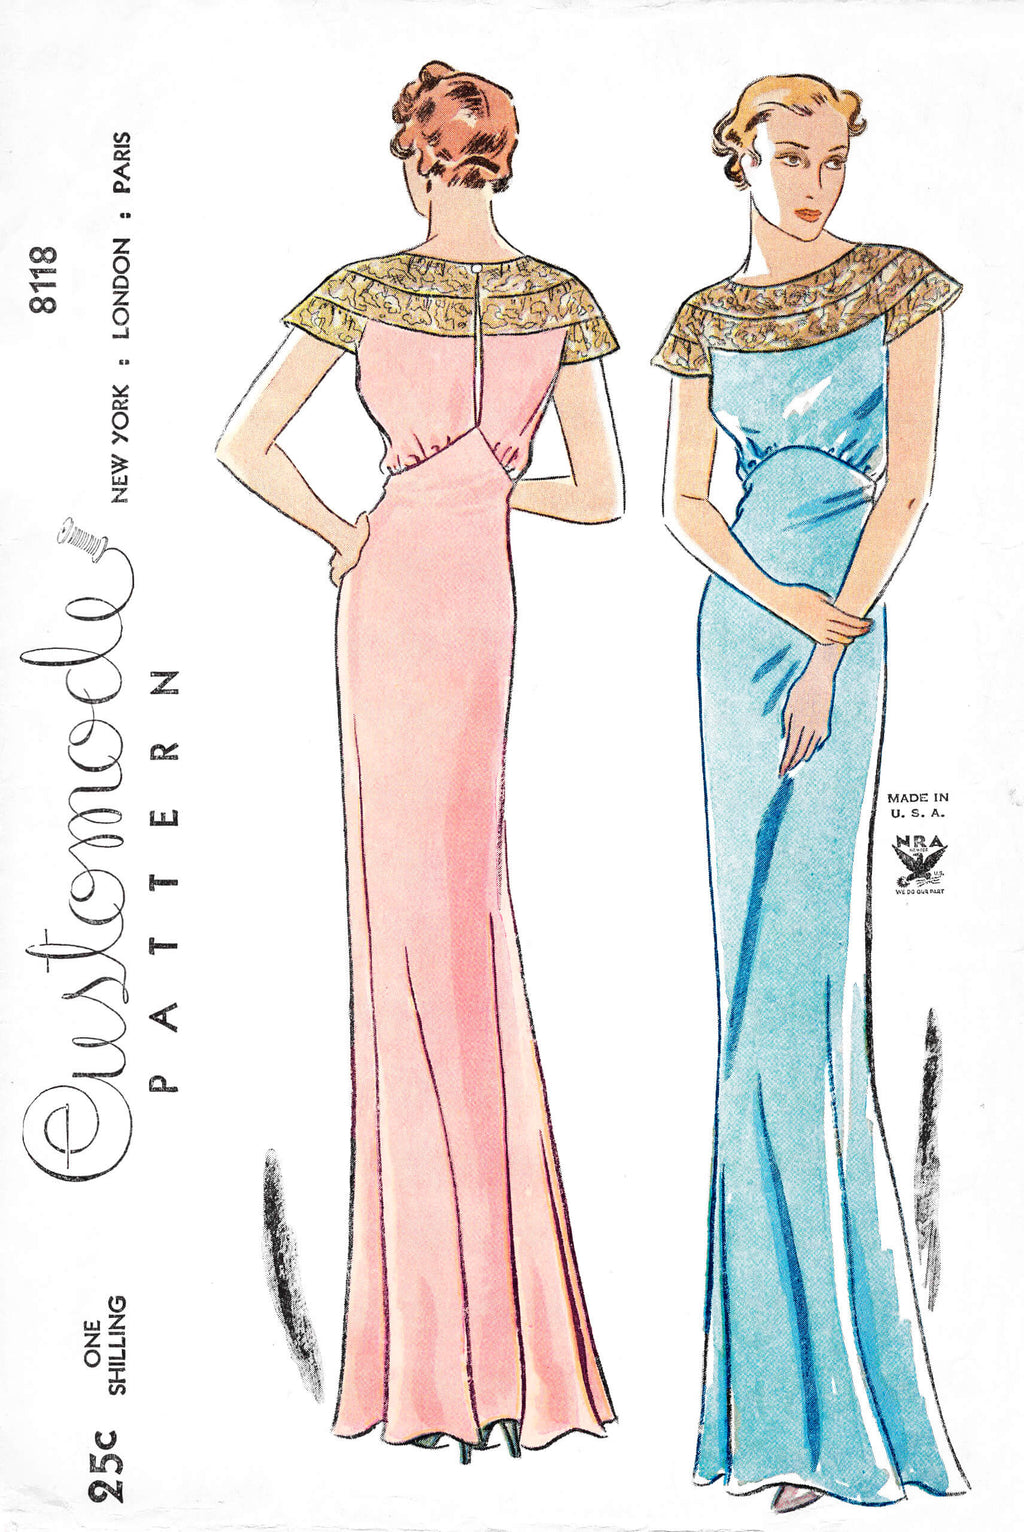
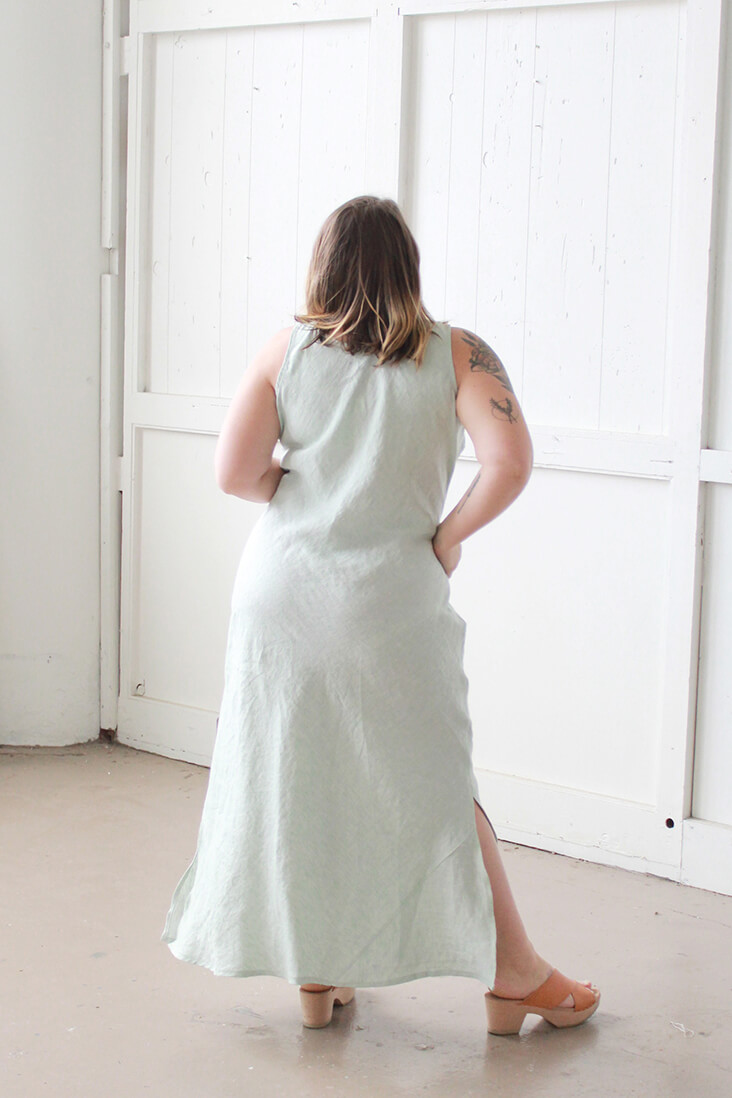
Creating a bias-cut dress involves cutting fabric at a 45-degree angle to the weave, allowing the fabric to drape softly and cling naturally to the body curves. Here's a simple guide to help you draft a bias-cut dress pattern:
### Materials Needed
- Pattern paper
- Fabric (silk, satin, or any fabric with good drape)
- Measuring tape
- Pencil
- Ruler
- French curve (optional)
### Steps to Draft a Bias Cut Dress Pattern
#### Step 1: Take Measurements
1. **Bust:** Measure around the fullest part of the bust.
2. **Waist:** Measure around the narrowest part of the waist.
3. **Hip:** Measure around the widest part of the hips.
4. **Dress Length:** Measure from the shoulder down to where you want the dress to end.
#### Step 2: Draft the Basic Shape
1. **Draw a rectangle** on your pattern paper using the hip measurement for the width and the desired dress length for the height.
2. **Mark the waist and bust:** Divide the waist and bust measurements by 4 and mark these measurements along the appropriate lines (hip line at the bottom, waist approximately at the midpoint, and bust higher up).
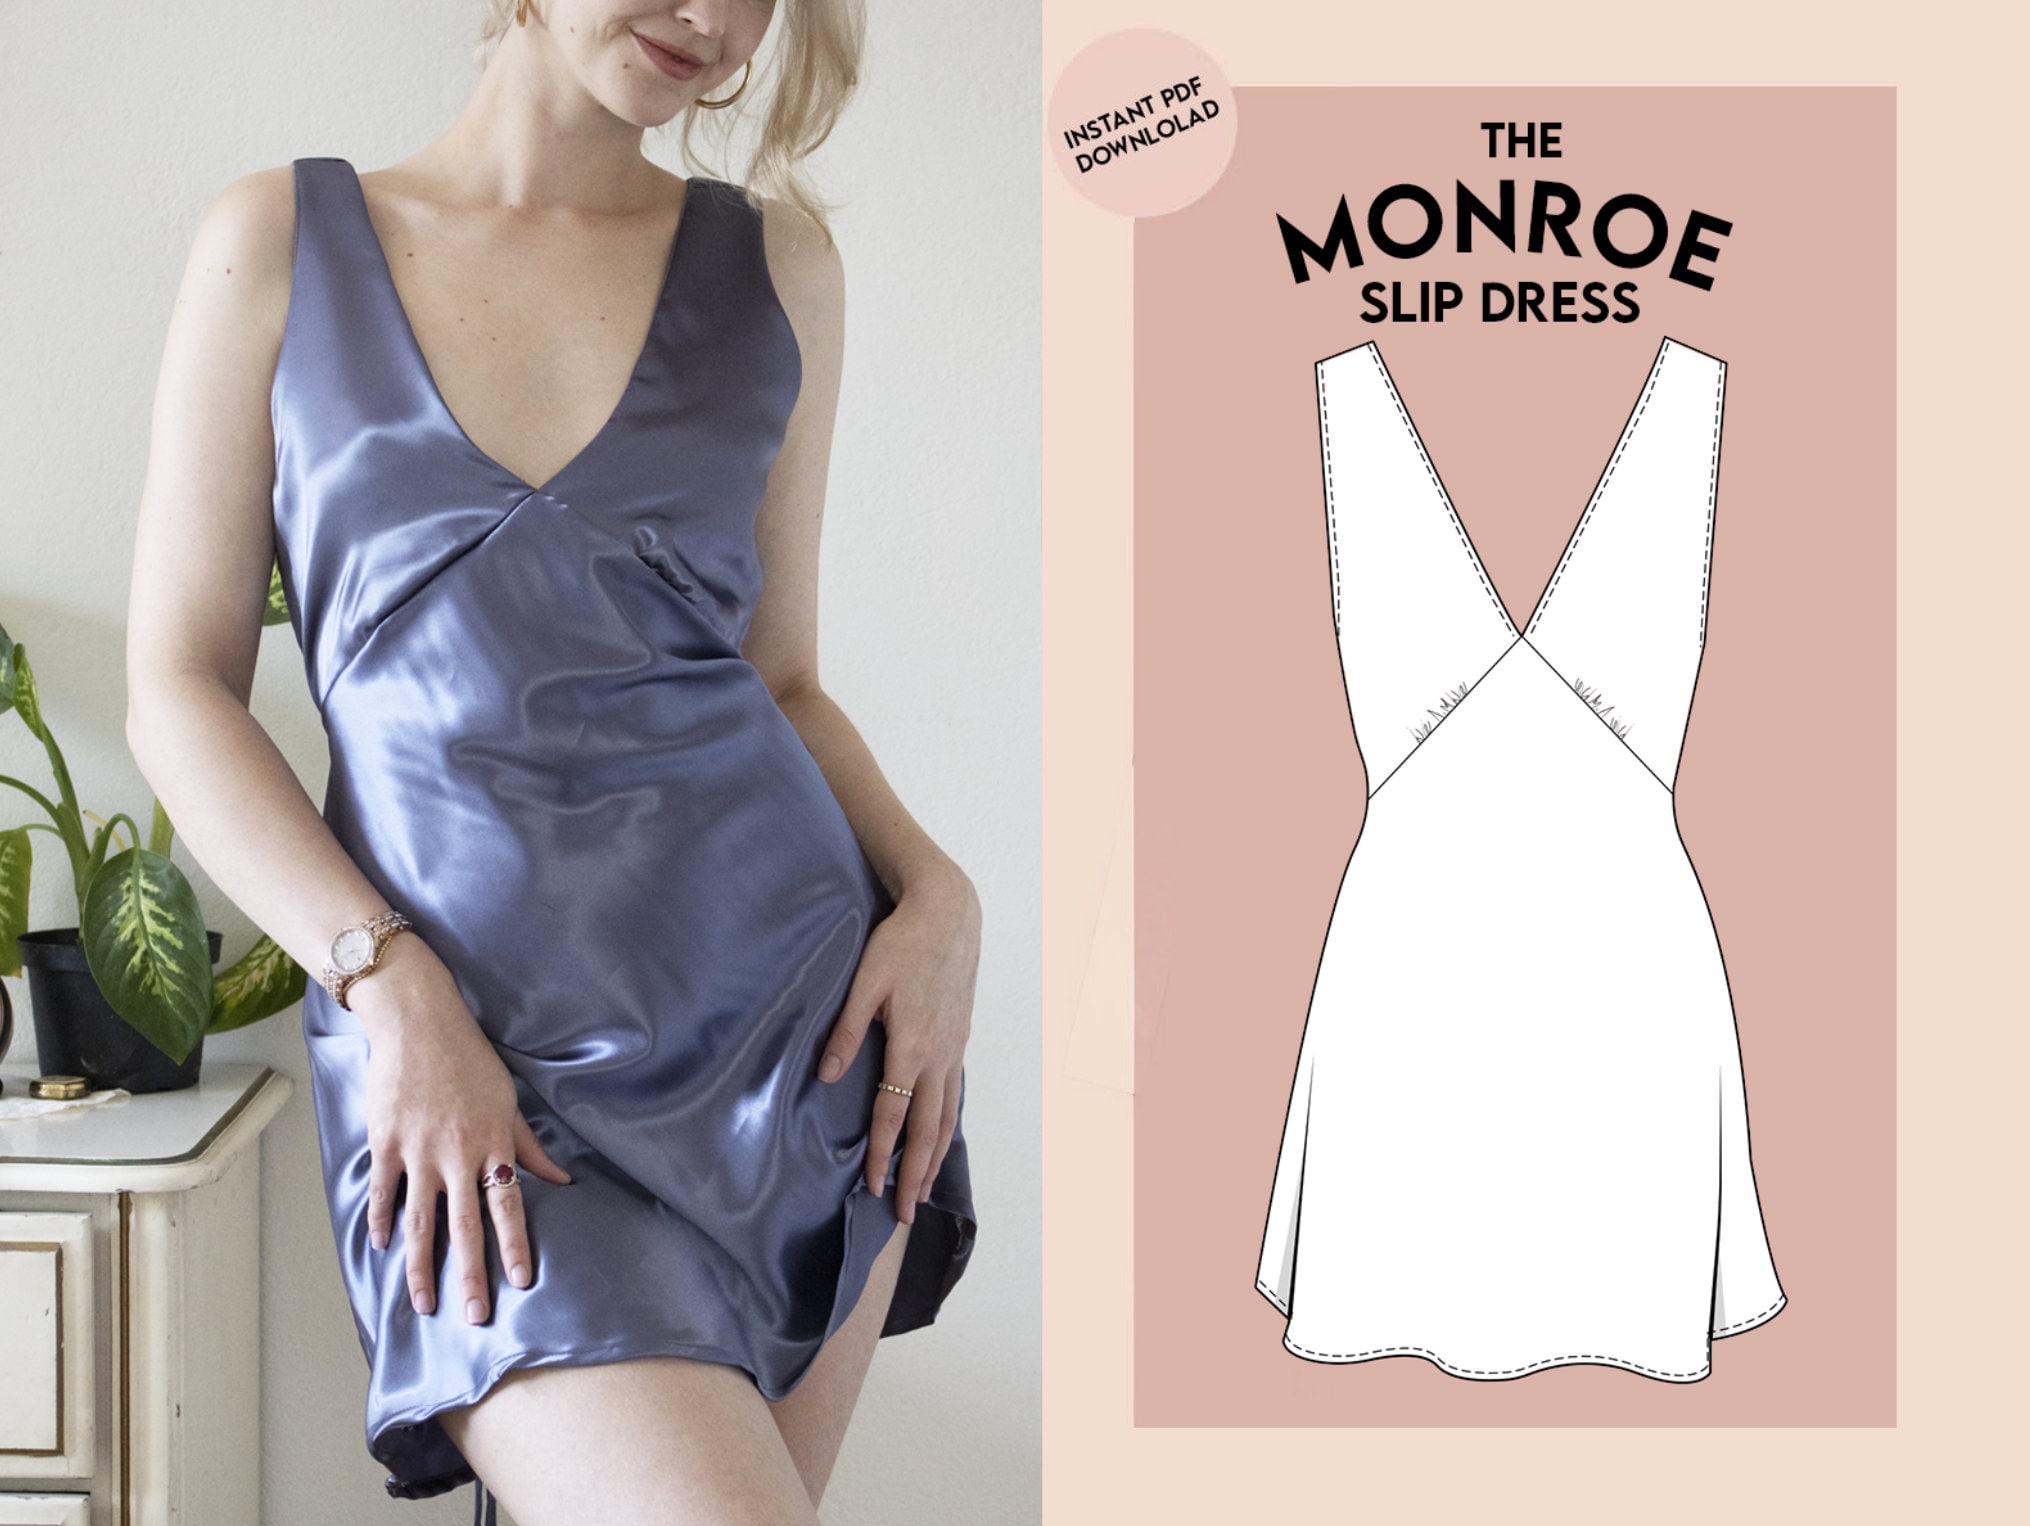
#### Step 3: Create the Neckline and Armholes
1. **Neckline:** Decide on the type of neckline (e.g., V-neck, scoop) and draw it on the top part of your rectangle.
2. **Armholes:** Sketch the armholes using a French curve if available. They should start at the top of the shoulder and curve down to just below the armpit.
#### Step 4: Add Seam Allowances
- Add at least 1/2 inch around the entire pattern for seam allowances. This is crucial for sewing the pieces together.
#### Step 5: Cut on Bias
1. **Lay the fabric flat:** Spread your fabric out on a large, flat surface.
2. **Position the pattern:** Align the pattern so that the grainline is at a 45-degree angle to the selvage of the fabric. This is the bias direction.
3. **Pin and cut:** Pin the pattern securely to the fabric and cut carefully along the edges.
#### Step 6: Sewing the Dress
1. **Sew side seams:** Stitch the sides of the dress together from the underarm to the hem.
2. **Sew the shoulders:** Connect the front and back pieces at the shoulders.
3. **Finish the neckline and armholes:** Depending on the design, you can use bias binding or a facing to finish these edges.
4. **Hem the bottom:** Turn the bottom edge under and stitch to finish the hem.
### Additional Tips
- **Fabric choice:** Since the fabric will stretch differently on the bias, choose fabrics that are not too stiff.
- **Fitting:** Bias-cut garments may stretch over time, especially while you are working with them. Consider making a muslin first to check the fit before cutting your actual fabric.
- **Handling:** Handle the fabric and garment pieces gently to avoid stretching them out of shape.
This basic guide provides a foundation for making a custom bias-cut dress. You can modify the pattern to include different design elements like sleeves, different necklines, or decorative seams to suit your style preferences.

587 × 587
Source:103KB
1052 × 738
Source:24KB
1526 × 2030
Source:243KB

475 × 450
Source:22KB

640 × 480
Source:59KB

2729 × 1876
Source:266KB

720 × 1280
Source:184KB

1102 × 800
Source:87KB
1532 × 1024
Source:348KB
1098 × 732
Source:114KB