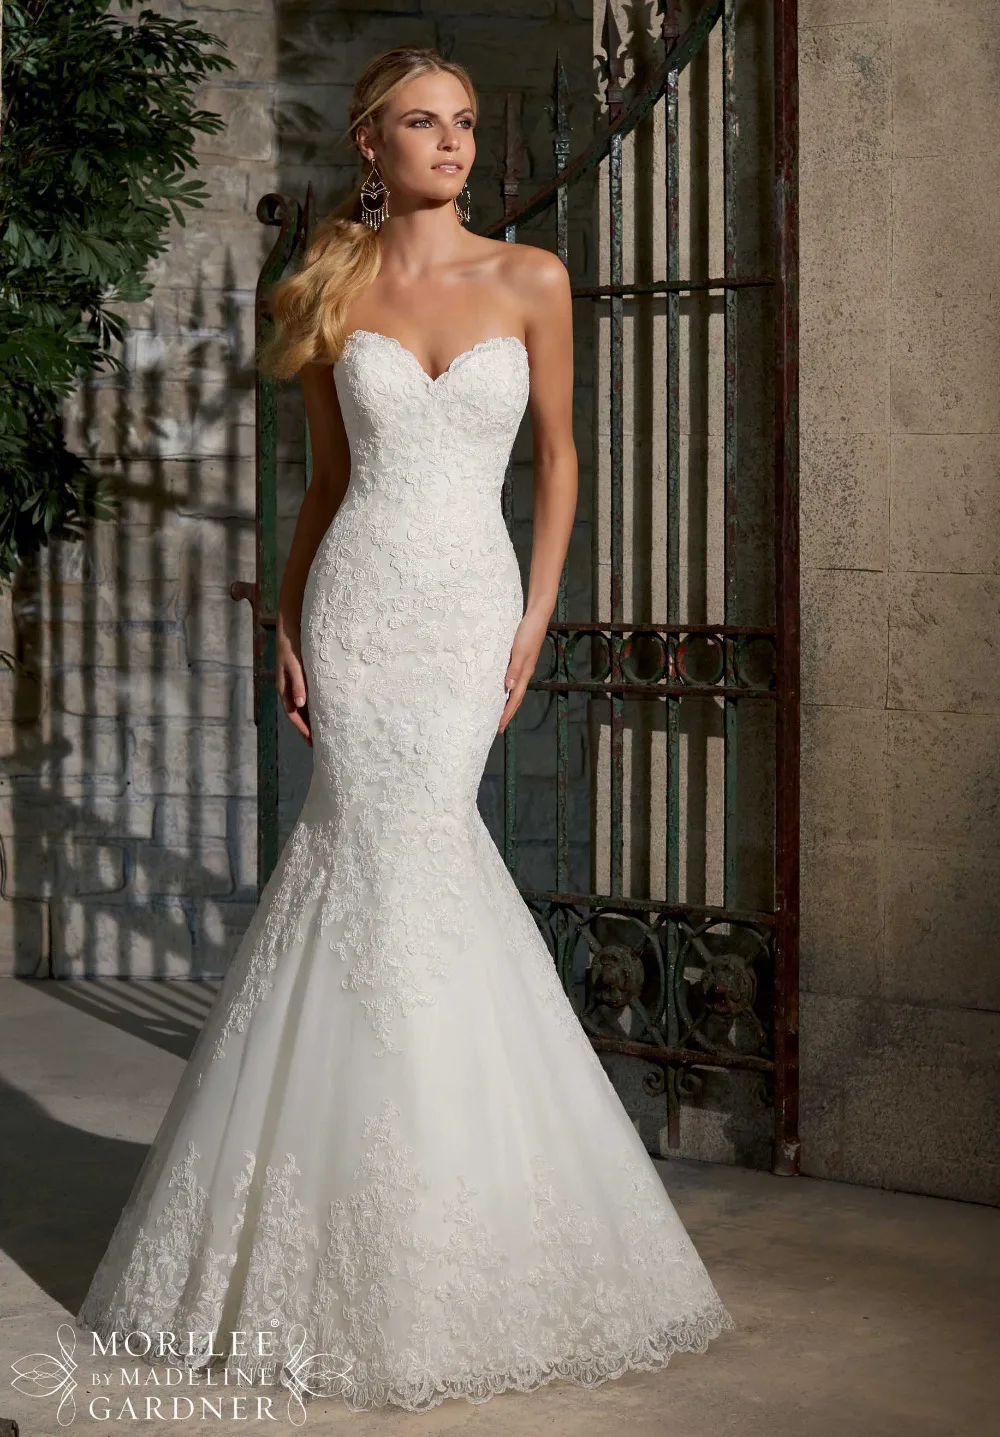
### Materials Needed:
- Measuring tape
- Paper for drafting patterns
- Pencil and eraser
- Ruler (preferably a curved ruler for hip and arm curves)
- Fabric (amount depends on measurements; typically 4-6 yards)
- Lining fabric
- Interfacing (for the bodice, if desired)
- Zipper (matching color)
- Sewing machine
- Scissors
- Thread (matching color)
- Pins
### Steps to Create a Sweetheart Mermaid Dress:
#### 1. Take Measurements:
- **Bust:** Measure around the fullest part.
- **Waist:** Measure around the narrowest part of your waist.
- **Hip:** Measure around the fullest part of your hips.
- **Length:** Measure from your waist to the desired hemline (typically to the floor, and consider heel height).
- **Bodice Length:** From the top of the shoulder, over the bust to the waistline.
- **Skirt Length:** From waist to the desired hemline.
#### 2. Draft the Bodice:
1. **Front Bodice:**
- Start by drawing a rectangle using the bust and bodice length measurements.
- Modify the top line to create a sweetheart shape. This involves drawing two curved dips for the breasts.
- Add seam allowance around each piece (usually ½ inch).
2. **Back Bodice:**
- Similar to the front but with a straight top line for easier zipper insertion.
- Consider a mid-back or lower-back zipper design.
#### 3. Draft the Skirt:
- **Mermaid Silhouette:**
- The skirt should fit snugly around the waist and hips and begin to flare out just above or at the knees.
- Draw a fitted panel from the waist down to the knees, then gradually extend the line outward to create the flare of the mermaid tail.
- Include seam allowances.
#### 4. Cut the Fabric:
- Use the patterns to cut out the fabric pieces. Remember to cut mirror images for left and right sides, as needed.
#### 5. Construct the Bodice:
- Sew the front and back bodice pieces together at the side seams.
- If using, attach interfacing to the bodice pieces for additional support.
- Try on the bodice and make any necessary adjustments.
#### 6. Sew the Skirt:
- Sew the skirt panels together, ensuring the fit is snug but comfortable around the hips and thighs.
- Attach the skirt to the bodice at the waistline.
#### 7. Install the Zipper:
- Insert the zipper along the back bodice and skirt.
#### 8. Hem and Finish:
- Hem the bottom edge of the skirt to the desired length.
- Finish any raw edges with a serger or zigzag stitch to prevent fraying.
#### 9. Final Fittings:
- Try on the completed dress and make any final adjustments for a perfect fit.
### Tips:
- Choose a fabric with a bit of stretch (like a stretch satin or crepe) to accommodate the close-fitting design of the mermaid silhouette.
- Consider adding a lining to the bodice and skirt for comfort and to give the dress a more professional finish.
- Be patient with adjustments, particularly in fitting the bodice and the flare of the skirt.
This basic guide provides a starting point for making a sweetheart mermaid dress. Customizations and embellishments like lace overlays, beading, or a train can enhance the design depending on the occasion.

300 × 300
Source:https://www.alibaba.com/showroom/sweetheart-wedding-dress-pattern.html

1666 × 1000
Source:https://www.couturecandy.com/products/andrea-and-leo-a1094-sleeveless-sweetheart-mermaid-dress

900 × 600
Source:https://ariststyles.com/products/3-d-flower-sweetheart-mermaid-women-formal-dress-by-gls-by-gloria-gl3414-special-occasion-curves

814 × 457
Source:https://www.asprinkleofjoy.com/2017/08/diy-sweetheart-neckline-dress.html/

1282 × 855
Source:https://www.kissprom.com/products/pink-3d-floral-lace-sweetheart-mermaid-long-prom-dress-with-slit

1914 × 1200
Source:https://www.essensedesigns.com/stella-york/wedding-dresses/7404/

1500 × 1000
Source:https://www.xdressy.com/red-sequin-sweetheart-neck-mermaid-dress-2996.html

1437 × 1000
Source:https://www.aliexpress.com/item/32272675427.html

400 × 770
Source:https://www.sewyourtv.com/free-wedding-dress-sewing-patterns/

800 × 600
Source:https://www.valstefani.com/Product/SimplyValStefani/S2251/
