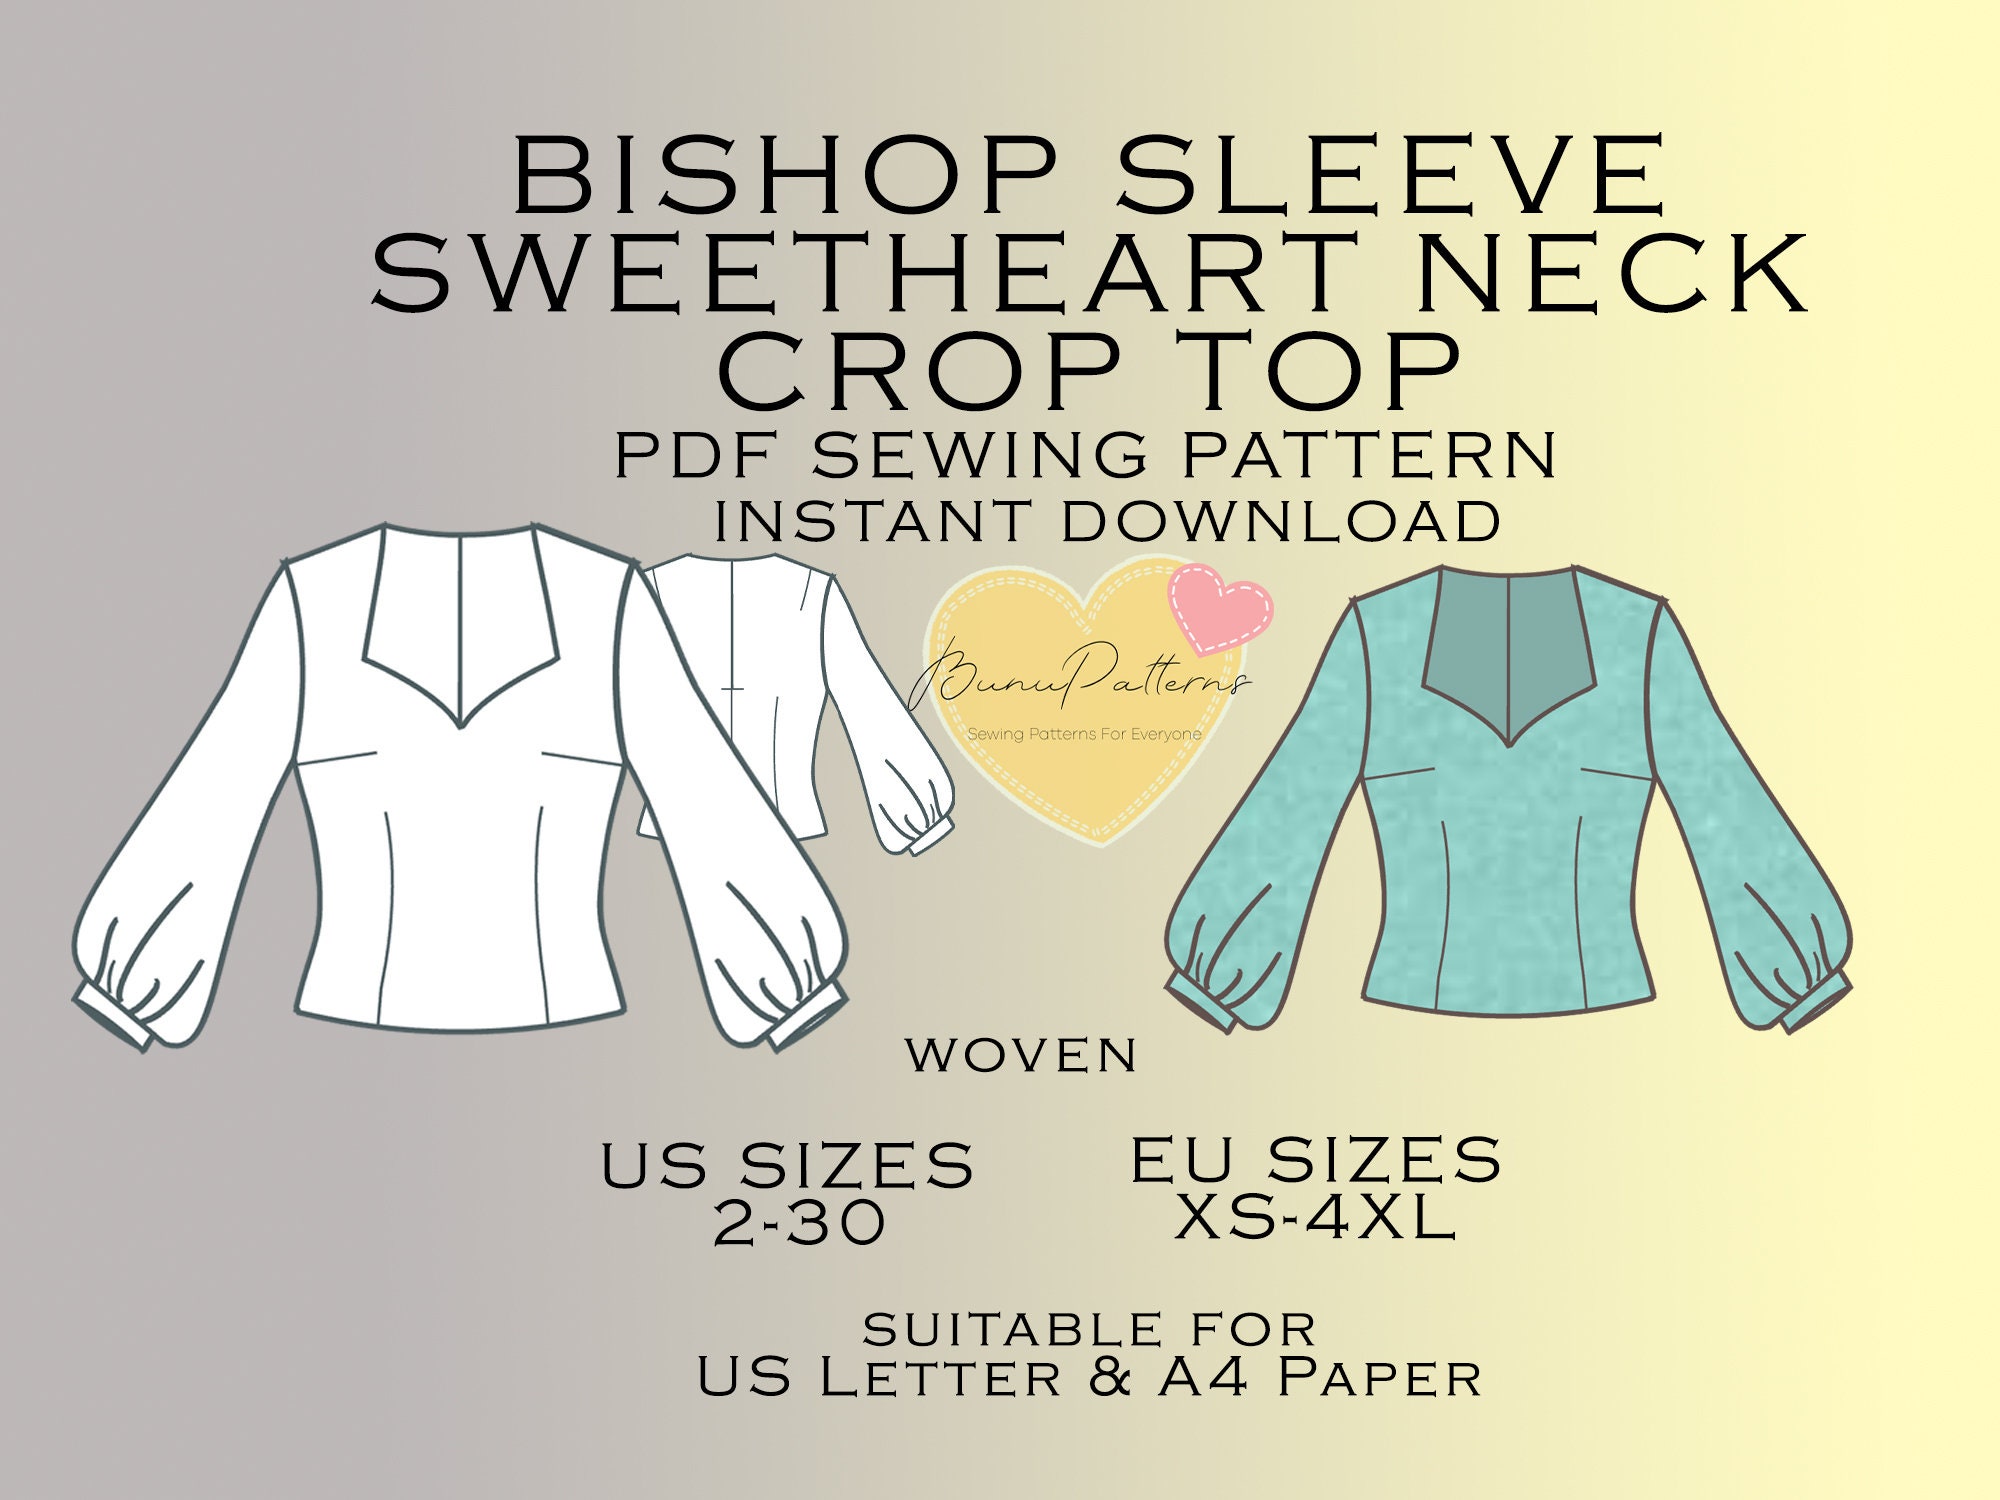
### What You Need:
- Measuring tape
- Pattern paper (or large sheets of paper)
- Pencil
- Ruler or straight edge
- French curve (optional, for better curves)
- Scissors
### Steps to Create a Sweetheart Neckline Top Pattern:
#### Step 1: Take Your Measurements
1. **Bust:** Measure around the fullest part of your bust.
2. **Waist:** Measure around the narrowest part of your waist.
3. **Hip:** Measure around the fullest part of your hips.
4. **Top Length:** Decide the length from the shoulder to where you want the top to end.
5. **Shoulder to Bust:** Measure from the top of your shoulder, over the bust to the point where you want the sweetheart neckline to start.
#### Step 2: Draw the Basic Bodice
1. **Front Bodice:**
- Draw a rectangle using your bust measurement for the width (divide by 4 and add ease and seam allowance) and your chosen top length for the height.
- Mark the waist and hip lines according to your measurements from the top edge (shoulder line).
2. **Back Bodice:**
- Follow the same steps as for the front, but you can make the neckline higher.
#### Step 3: Shape the Neckline
1. **Front Bodice:**
- At the top of the front bodice, mark the center.
- Use a French curve to draw the sweetheart shape starting from each shoulder to the center mark. Adjust the depth and curve according to your preference.
#### Step 4: Add Darts
- Place darts on the front bodice if necessary to fit the bust. Typically, darts are placed pointing towards the fullest part of the bust.
#### Step 5: Add Seam Allowances
- Add seam allowances around all edges of your pattern pieces (usually about 1/2 inch or 1.27 cm).
#### Step 6: Cut Out the Pattern
- Carefully cut out your pattern pieces using scissors.
#### Step 7: Test Your Pattern
- Before cutting into your final fabric, itís wise to make a muslin or test garment. Adjust the fit as needed.
#### Step 8: Sew Your Top
- Use your pattern to cut your fabric and sew your top according to the pattern youíve created.
### Tips:
- Always double-check your measurements.
- Consider the stretch or drape of your fabric when designing and fitting your top.
- For a professional finish, consider adding a lining or facing to the neckline.
### Additional Customizations:
- Add sleeves or different strap designs.
- Incorporate different back designs, like a keyhole or a zipper closure.
- Embellish with lace, embroidery, or other decorative elements.
Creating a pattern from scratch can take some trial and error, so donít be discouraged if your first attempt isnít perfect. Practice makes perfect in sewing and pattern making!

546 × 364
Source:32KB

1067 × 800
Source:157KB

1000 × 719
Source:140KB

768 × 768
Source:176KB

414 × 736
Source:28KB

500 × 333
Source:35KB

500 × 601
Source:50KB

360 × 285
Source:13KB

1500 × 2000
Source:243KB

792 × 612
Source:63KB
