### Materials Needed:
- Pencil
- Eraser
- Drawing paper
- Colored pencils or markers (optional)
### Step-by-Step Guide:
#### **Step 1: Draw the Torso**
- Start by sketching a vertical line to help keep your drawing symmetrical.
- At the top of this line, draw a small horizontal oval or rectangle; this will be the top of the dress or the chest area.
- Below the oval or rectangle, draw two slightly curved lines extending downward, converging slightly. These lines represent the torso of the body wearing the dress.
#### **Step 2: Add the Skirt Outline**
- From the bottom of the torso, extend two diagonal lines outwards and downwards. These lines will form the outer edges of the dressís skirt.
- Decide on the length of the dress, and where these lines end, connect them with a slightly curved line or a zigzag line for a frilly look.
#### **Step 3: Sketch the Waist**
- Where the torso meets the skirt, draw a horizontal line or add a belt to define the waist of the dress. This can be a straight line, a curved line, or even detailed with a bow or buckle if youíre adding a belt.
#### **Step 4: Design the Sleeves (Optional)**
- If you want your dress to have sleeves, draw two lines extending from the shoulder area of the torso for each sleeve.
- These can be long, short, puffy, or tight sleeves depending on your design. Sketch the outline of the sleeves according to your choice.
#### **Step 5: Add Details and Patterns**
- Add any designs or patterns to the dress, such as lace, polka dots, stripes, or flowers. You can also sketch out a neckline (scoop, V-neck, or collar).
- Detail the fabric texture, adding folds or ruffles especially where the dress would naturally crease (like at the waist or at the elbows).
#### **Step 6: Finalize the Outline**
- Go over your pencil sketch with a darker pencil or pen to finalize the outline of the dress.
- Erase any unnecessary guidelines you drew in the beginning.
#### **Step 7: Color Your Drawing**
- Choose colors for your dress and start coloring. Think about how colors and shading will represent the material of the dress (silk, cotton, etc.).
- Use shading to add depth and volume to the dress, highlighting areas where light naturally hits and shading parts that would be in shadow.
#### **Step 8: Add Background (Optional)**
- If you wish, add a background to place your dress in a setting, which can be as simple or detailed as you like.
### Tips:
- Start with light pencil strokes as you may need to make adjustments as you go.
- Look at reference images of dresses to get ideas for styles and details.
- Practice different types of dresses to improve your drawing skills.
Drawing is a skill that improves with practice, so donít worry if your first few attempts don't turn out perfect. Have fun with it and experiment with different styles and details!

480 × 640
Source:https://m.youtube.com/watch?v\u003dtw-pe2sbkmM

345 × 460
Source:https://www.wikihow.com/Make-a-Dress
296 × 474
Source:https://play.google.com/store/apps/details?id\u003dcom.dressgown.drawingtutorials\u0026hl\u003den_US

678 × 680
Source:https://easydrawingguides.com/how-to-draw-a-dress/

857 × 571
Source:https://dragoart.com/tut/how-to-draw-dresses-6289

1280 × 720
Source:https://www.amazon.com/How-Draw-Dress-Step-Girls/dp/B08PQ843WJ

720 × 1280
Source:https://www.pinterest.com/pin/cam-styles--637681628464492378/

577 × 800
Source:https://easydrawingart.com/how-to-draw-a-dress/

1313 × 875
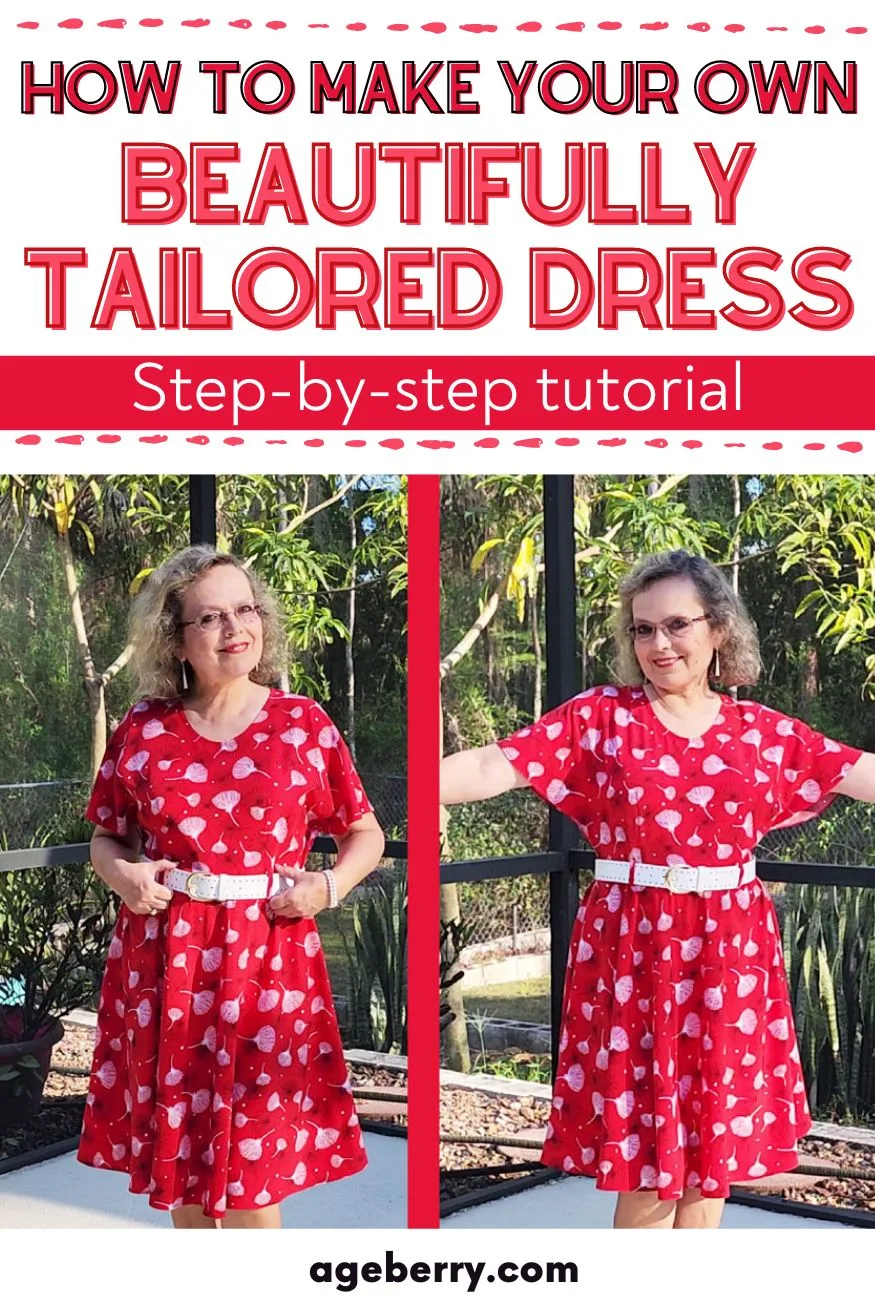
Source:https://www.ageberry.com/how-to-make-dress-step-by-step-sewing-tutorial/

1400 × 1000
Source:https://iheartcraftythings.com/dress-design-drawing.html
